The pop-up hits without warning: “The Recycle Bin on E:\ is corrupted.” The fear is that fixing it wipes your data. It won’t. Below you’ll find the exact Command Prompt reset command that rebuilds the bin from scratch, plus deeper fixes using SFC and CHKDSK when the corruption runs deeper.
Most of the time the error lives on external or secondary drives, not your main Windows drive.
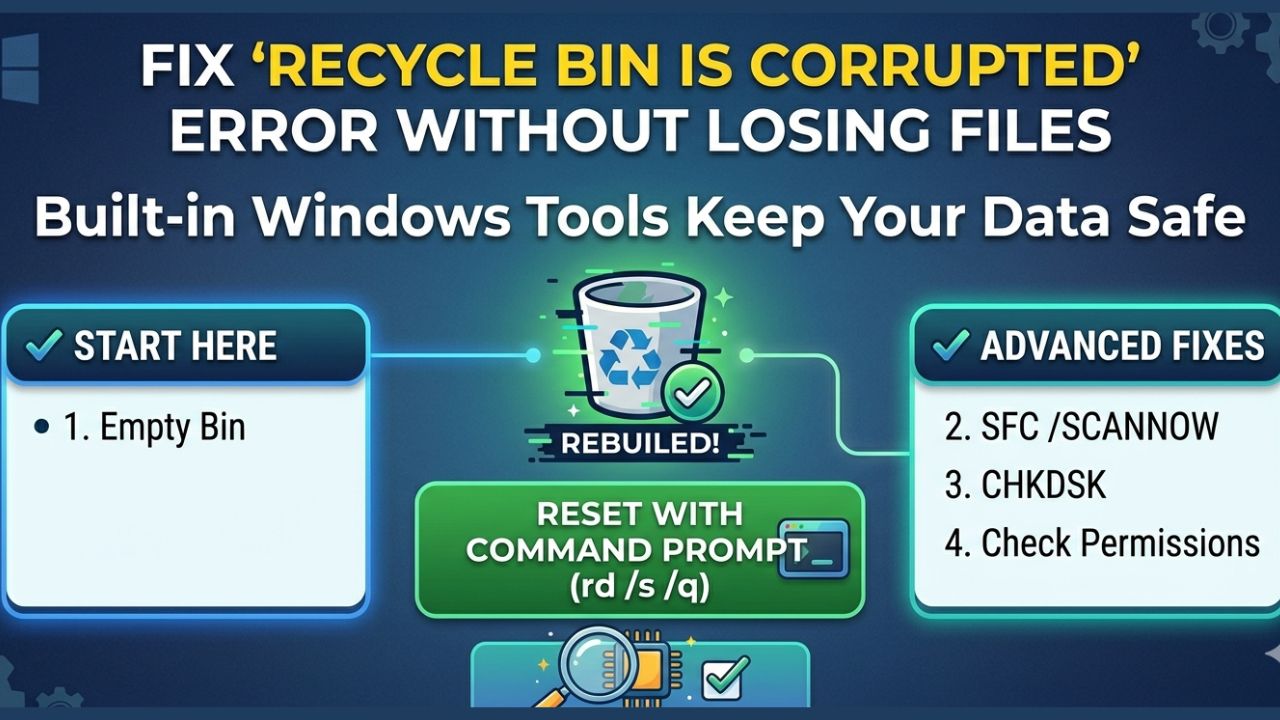
What you’ll need
- Administrator access on your Windows 10 or 11 PC
- Command Prompt launched as administrator
- The affected drive letter (for example C: or E:)
- A few minutes for scans (some tools take 5–15 minutes)
Step 1: Try emptying the corrupted Recycle Bin
When Windows asks “Do you want to empty the Recycle Bin for this drive?”, click Yes. That action clears only the Recycle Bin contents. It does not erase every file on the drive.
If the error disappears after emptying, you’re done. If the prompt returns or the bin stays corrupted, move on to the reset step below.
Is it safe to empty a corrupted Recycle Bin?
Yes. The prompt targets only the Recycle Bin directory for that drive. Your personal files, folders, and programs on the same drive are not affected.
The only items at risk are files already sitting in the Recycle Bin waiting to be restored or deleted.
Step 2: Reset the Recycle Bin via Command Prompt
This is the most reliable built-in fix. It deletes the hidden system folder that stores Recycle Bin data so Windows can rebuild it from scratch.
Running Command Prompt as administrator
- Press the Windows key, type cmd
- Right-click Command Prompt and select Run as administrator
- Click Yes on the User Account Control prompt
What the rd /s /q command actually does
Type the following command and press Enter:
rd /s /q X:\$Recycle.bin
Replace X with the letter of the corrupted drive (for example E). The /s flag removes all subfolders, and /q runs it quietly without asking for confirmation. Your regular files stay untouched.
Only the hidden Recycle Bin index is deleted.
Step 3: Restart your PC to rebuild the Recycle Bin
After running the reset command, restart your PC. Windows automatically creates a fresh Recycle Bin directory on the affected drive during startup. Once you’re back in, try deleting a test file and check if the error is gone.
Step 4: Run System File Checker (SFC)
If the corruption comes from damaged Windows files, SFC can repair them. Open Command Prompt as administrator again and type:
sfc /scannow
Wait for the scan to finish. It usually takes a few minutes. Then restart your PC and check the Recycle Bin again.
Reading the SFC scan results
- Windows Resource Protection did not find any integrity violations — no system file issues detected.
- Windows Resource Protection found corrupt files and successfully repaired them — problem fixed, restart and retest.
- Windows Resource Protection found corrupt files but was unable to fix some of them — try CHKDSK next.
Step 5: Run CHKDSK to fix disk-level errors
When the file system on the drive itself is damaged, CHKDSK is the right tool. In an elevated Command Prompt, type:
chkdsk X: /f /r
Replace X with the affected drive letter. If you’re scanning the system drive (usually C:), CHKDSK will ask to schedule the scan for the next restart. Type Y and reboot.
CHKDSK flags explained
- /f — fixes logical file system errors on the disk
- /r — locates bad sectors and recovers readable information (takes longer)
Step 6: Fix permission issues on external or secondary drives
Sometimes the real problem is not corruption at all. If your account does not own the Recycle Bin folder, Windows reports it as “corrupted” even when the data is fine. This is common with external drives and redirected folders.
When permissions cause Recycle Bin errors
Open File Explorer, right-click the affected drive or the $Recycle.bin folder, and go to Properties > Security > Advanced. Note your exact Windows username first, then use the Owner tab to take ownership with an administrator account, check Replace owner on subcontainers and objects, click Apply, and confirm. Then reassign ownership back to your regular user account the same way.
Restart and test the Recycle Bin.
Tips & troubleshooting
The steps above cover most cases. Here is what to do when the fix does not stick.
Error keeps coming back on my external drive
Run CHKDSK on the drive, then use Safely Remove Hardware before unplugging it. Recurring corruption often points to a USB connection issue or a failing drive. Back up the data if it persists.
Command Prompt method did not fix it
Run SFC and CHKDSK first to rule out system file or disk errors, then repeat the rd /s /q reset command. The order matters because underlying disk corruption can prevent the reset from working.
Corruption on multiple drives
Reset each drive individually with its own rd /s /q X:\$Recycle.bin command. One drive’s Recycle Bin being corrupted does not spread to others, so treat each one separately. Do not forget the restart between drives.
Conclusion
Start by safely emptying the corrupted bin, then reset it with the Command Prompt command rd /s /q and restart. If the problem runs deeper, use SFC to repair Windows system files and CHKDSK to fix disk-level errors. For external drives and permission headaches, take ownership of the bin folder.
All of these are built-in Windows tools, and none of them delete your personal files. Keep a regular backup habit regardless, just in case.
Frequently Asked Questions
Will resetting the Recycle Bin delete my important files?
No. The reset command removes only the hidden system folder that indexes deleted files. Your documents, photos, and programs on the drive are not touched.
Only the items already sitting in the Recycle Bin are permanently removed.
Is it safe to click “Yes” when Windows asks to empty the corrupted Recycle Bin?
Yes. That action clears the Recycle Bin contents only. It does not wipe the rest of the drive.
Your personal files remain where they are.
Why does the “Recycle Bin is corrupted” error keep appearing on my external drive?
External drives are more prone to this because of sudden disconnections, permission mismatches when moved between PCs, or disk file system errors. Run CHKDSK and always use Safely Remove Hardware before unplugging.
What if the Command Prompt method does not fix the error?
Run sfc /scannow and chkdsk /f /r first. If system files or disk errors are the root cause, fixing those before resetting the Recycle Bin gives the reset command a clean slate to work with.
How do I fix a corrupted Recycle Bin without reinstalling Windows?
You do not need to reinstall anything. The built-in tools covered here — the reset command, SFC, CHKDSK, and permission fixes — handle the issue in nearly all cases without a fresh Windows install.
The post Fix ‘Recycle Bin Is Corrupted’ Error Without Losing Files appeared first on trendblog.net.